Are you looking for white paint to match the ceiling paint you already have? You will be surprised that there are over 150 shades of white paint. With this number, choosing the right one to blend with other existing shades in the room isn’t easy.
When you plan to blend a touch-up paint on the ceiling, a color matching will always be taken into consideration to avoid an unsightly finish. Learning the tips on how to blend white ceiling paint assures you an output that gives a professional look.
Table of Contents
Things to Consider Before Blending White Ceiling Paint
Some of the things to consider before blending white ceiling paint are the ceiling condition, color, and tools.
- The condition of the ceiling pertains to water leaks, cracks, nails, and screws popping should be your concern. This may indicate the need to paint the whole ceiling for a brand-new look or apply a touch-up on the obvious part.
- Color is the first thing to come to mind before blending ceiling paint. In general, shades of white are used for the ceiling as it blends to any paint on walls. It also reflects light the most, giving an illusion of a bright, spacious room.
- Lastly, you need to gather all the essential tools for ceiling paint repair. Having the right ceiling painting tools, including paintbrush, roller cover, bucket, drop cloths, ladder, duster, safety goggles, and more.
Ways to Blend White Ceiling Paint
There are two outstanding ways to blend white ceiling paint. They are the cover-up spray and touch-up painting.
1. Cover-Up Spray for White Ceiling Paint
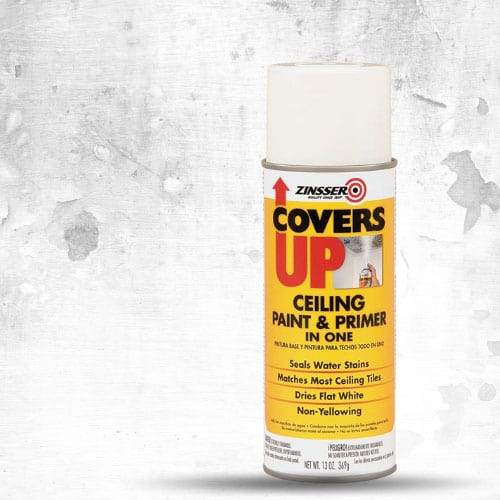
Cover-up spray works like magic when used to fix paint on the ceiling or hide stains left by water leaks.
Shake the aerosol spray and swish it directly on the stained area, and you’ll get the desired result. It covers the ugly stain and automatically blends new paint into the old paint you have.
There are many brands of cover up sprays. The popular size is 13 oz which can cover approximately 152 ft. Most cover-up sprays are compatible with latex and oil-based paint. Not only that, but they work well also with wood, tiles, drywall, and metals.
2. Touch-Up Painting
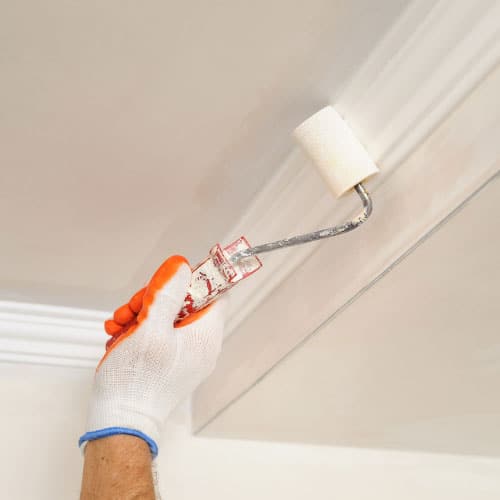
Another way to blend white ceiling paint is following the steps of touch-up painting. Touch up ceiling paint allows you to repaint a portion of the ceiling to conceal defects instead of painting the whole ceiling which is overwhelming and costly.
Tools required Touch-up Painting:
- Sudsy Sponge/ Towel
- Sandpaper
- Paint scraper/Putty knife
- Spackling compound
- Primer
- Paint
- Paint brush/roller(1/4 inch nap is good for smooth ceilings)
- Roller extension
- Paint tray
- Ladder
Steps to blend White Ceiling Paint on Smooth Ceiling
The most common type of ceiling is the smooth or flat ceiling. Adding a white ceiling touch up paint with the right tools and techniques gives you an impressive result.
Step 1: Match Sample
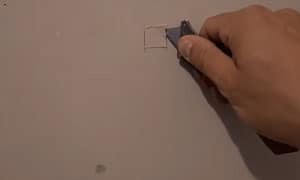
Before touch-up application, you must have the exact white shade of your ceiling paint. Cut a square inch from your ceiling paint using a blade. Take this cut out to hardware shops and choose the exact match.
Failing to do so will lead your touch up effort to waste as the color differences will definitely appear when the paint dried.
Step 2: Clean ceiling especially the damage area
When white ceiling paint looks gray, clean the overall area so the real color appears. Scrape paint peelings using a scraper. Don’t leave any pieces behind.
Use a damp sponge to clean-up and dust the bare area. Do not forget to dry it with a clean towel.
Step 3: Flatten the Surface
Fill the dents left by hole and scratches with a spackling compound using a putty knife and then flatten the raised area with a sandpaper.
Step 4: Coat With Primer
Make sure the color of the primer is white to match white paint you have. Spread the primer on the bare area using a brush or roller.
Then, leave it to dry before applying the white paint you have chosen.
Step 5: Apply the Paint
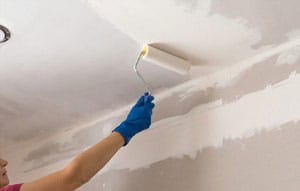
The paint saturates and fully covers the imperfections in the patched area. Open the can of paint you’ve bought and stir it before dipping the brush or roller.
For convenient painting, pour paint on the paint tray where you can dip the brush or roller.
Observe the tools employed in the existing paint. Whether it’s a brush or roller, the same must be used in applying the touch-up to match old ceiling paint feel and texture. It is best not to overload the brush or roller with paint. Start with a small amount of paint to avoid a touch-up blob.
Textured Ceiling Paint and Tips for Painting It
Some of the popular types of textured ceiling are swirled, knockdown, orange peel, and popcorn. The emergence of these textures is also the birth of new challenges in painting.
The two common challenges in painting a textured ceiling are making a straight cut-in between wall and ceiling, and painting ceiling professionally without the issue of peeling, or falling off during or just after the paint application.
Here is a textured ceiling paint idea and tips you can follow to avoid the mess up.
Tools needed:
- Ceiling paint-flat latex paint
- Paint roller – a roller with a thicker knap ( ¾”) is a key for paints to get into the grooves of the textured ceiling.
- 5 gal. paint bucket
- Metal bucket screen
- Extension pole
- Paintbrush
- Painter’s tape
- Ladder
- Drop cloth
- Flat screwdriver
Steps to follow
- Prepare the space – Move furniture that can be moved before starting other activities. Cover the walls, permanent furniture, and fixtures to avoid splashes of paint during the application. Spread the drop cloth also to protect the floor from paint drips.
- Knock off the bumpy texture on the edges of the ceiling by lightly running a flat-edged screwdriver until it makes a clean slate line.
- Cover wall edges with painter’s tape. You should apply painter’s tape along the edges of the wall to avoid smudges from the brush while doing the cut-in. Do this in a two-foot section for easy placement.
- Cut-in corners, also known as painting the corners and edges of the ceiling. Load your brush with enough paint and start working your way around the entire edges of the ceiling stroking once or twice to avoid paint saturation.
- Prepare Paint – Pour the paint of your choice on the bucket and insert the metal bucket screen. Professional painters use the screen to spread and control the paint loaded on the roller.
- Coat the roller by dipping it into the paint. Roll it over the screen gently, so the paint seeps on the thick nap and is equally spread out simultaneously.
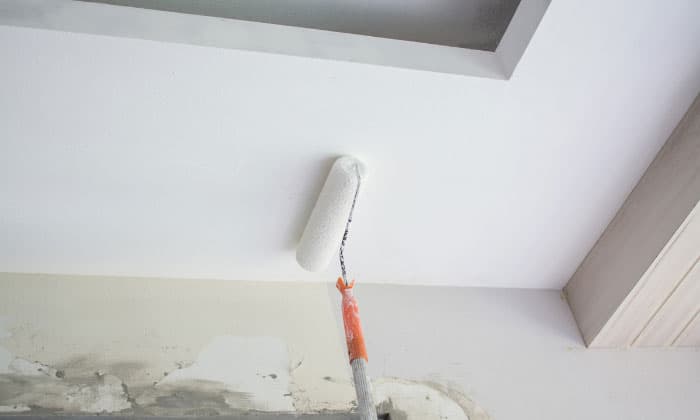
- First coat painting. Bring the roller up to the textured ceiling and start rolling in one direction until the overall ceiling is coated. It is advised to only work in one section as it may lead to the texture becoming dry. When the texture is soaked with paint, it weakens and may fall off. Let the paint dry.
- To apply the second coating, repeat the fifth step until the seventh step; however, roll the roller perpendicular to the first coating you’ve made. This step ensures the dents and grooves of textured ceilings are coated evenly.
Helpful Tips/FAQs
How long does it take to blend white ceiling paint?
When you use a cover-up spray, it should blend in minutes after the spraying. The blending period of other paint is seen after being dried up, as paint tends to get a bit darker when it dries. Oil-based paint dries in 6-8 hours, and latex paint dries in about an hour.
Why does my ceiling look patchy after painting?
Possible reasons for the patchy look after painting include the following:
- Primer is not used
- The used sealer applied is not designed to cover the old paint
- Your ceiling surface is not cleaned well before applying the ceiling paint
- The tools, especially the brush, are not of good quality
- Application of thin paint or a cheaper grade paint.
What is the most common white ceiling paint?
The most common white ceiling paint is the off white ceiling paint. You can also try the Chantilly Lace, which is a dainty white shade for ceiling painting for bedrooms, dining rooms, and living rooms. They are a never-fail option for the ceiling and can blend with any color palette.
Indeed, you can always go for various textured ceiling paint ideas rather than sticking to the flat white ceiling.
Conclusion
Learning how to blend white ceiling paint on a smooth and textured ceiling gives you the edge to paint like a professional painter. It might be a little messy in the beginning, but it gets better as you continuously move your roller on. Make sure you pick the color that matches your interior design well, including furniture colors.

Hi, I am Roseanne Jones, an aspiring home designer that wants to make you feel more at home with your new house.With nearly five years of redecorating old residents and arranging new ones, I am confident that I can give you the best advice on your lovely place.


