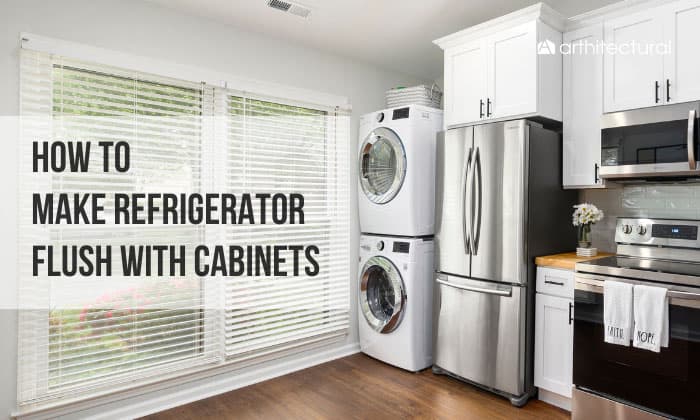
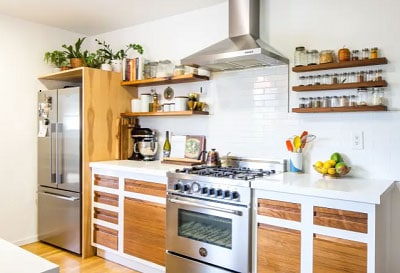
The convenience and awesome visual of a fridge flush with cabinets add a remarkably high value to the overall interior design of the kitchen. Because of its soaring popularity, even refrigerator companies offer customized fridge flush with walls but at a two-fold price which is not favorable for everyone.
Nevertheless, you can still enjoy this kind of interior design with your standalone refrigerator without shelling out a large amount of budget. Continue scrolling to learn some out-of-the-box ideas on how to make refrigerator flush with cabinets in the kitchen without compromising its functionality.
Table of Contents
Ways to Make Refrigerator Flush With Cabinets
We understand that sometimes it feels weird to see the refrigerator left apart from the kitchen cabinets around it. But with the help of creative minds, you can make your fridge look like a cabinet in any moment you want with the right materials.
The following are some unique ways to make a refrigerator look built in. It seamlessly blends your iconic standalone fridge with the major furniture and appliances for a coherent appearance.
Method 1: Add Customized Door Panels to Refrigerator
Adding door panels to a fridge in a kitchen cabinet with open space is one of the breakthroughs in kitchen design to integrate appliances into the whole cabinets professionally.
This DIY idea is a helpful guide to make a refrigerator look built-in, whether it has a curved or flat surface. This idea works.
It comprises three parts, connecting door panels to the base frame, connecting the fridge door to the door panels, and attaching the freezer door to a door panel.
Materials Needed:
- Screwdriver
- 2 Customized Cabinet Door Panels
- 2 Door handles
- 4 Flush hinges bifold Non-mortise
- Screws
- 8 Zanussi Integrated fridge freezer door mounting bracket kit
Step 1: Connect Door Panels to the Base Base Frame
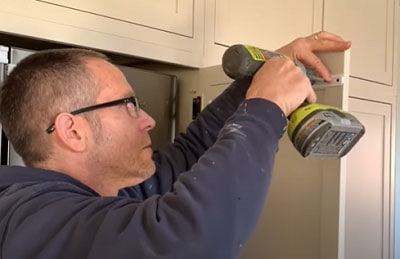
Enclosing an open space cabinet to make your freestanding fridge look built-in is absolutely attainable. Start this by adding a customized door panel to the open space part of the cabinet where your fridge sits.
1. Measure and Mark the Hinge Placement
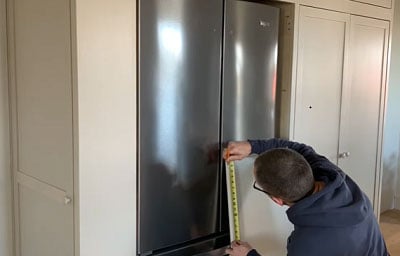
Small door panel is usually attached to the base frame with two hinges found in the upper and lower part of the door. To have this, measure and mark the place where the door hinges will be attached.
2. Predrill Screw Placement in Door Panel
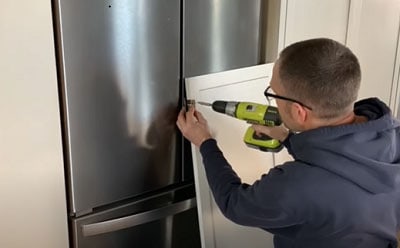
Drill holes in the two marked areas of the door panel where the hinges will be attached. This makes a straight path for screws.
3. Attach Hinges on Door Panel
Attach flush hinges bifold non-mortise on the drilled holes using screws. The screws must be buried wholly and firmly on the wooden door panel.
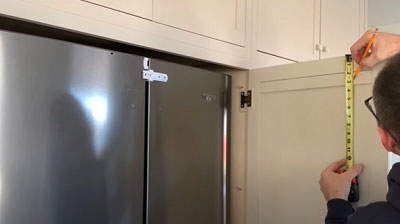
4. Predrill Holes in the Base Frame
Now that you are finished on the door panel, continue to the base frame. Align the door panel with the base frame and accurately mark the level where the door hinges will be placed. Again, predrill holes to accommodate screw connections.
5. Connect Hinges on the Base Frame
Connect the free plate of the bifold hinge from the door panel to the upper and lower part of the base frame with screws.
This time you should have a fully functioning kitchen cabinet refrigerator door panel. Repeat the process on the other door panel.
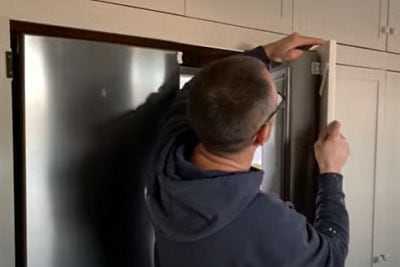
Step 2: Connect Fridge Door to Wooden Door Panels
1. Remove the Fridge Handles

Remove the fridge handles and posts that are protruding from the fridge doors.
2. Connect Brace on the Fridge Door
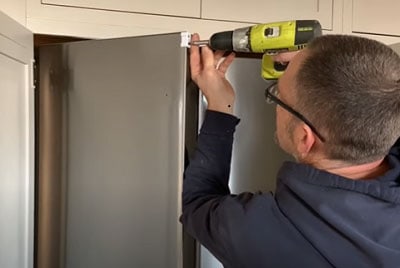
Connect the fridge door to the door panel by attaching the fridge freezer door mounting bracket on both sides of the fridge doors with screws.
Connect them in a way they overlap with each other to avoid collision when the fridge door is closed.
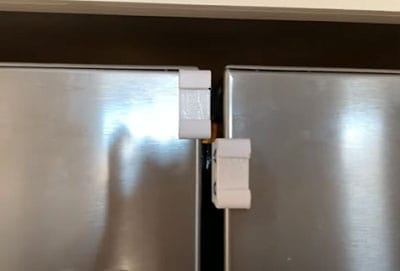
3. Mark the Slider’s Place on the Door Panels
The slider is the long rectangular piece that comes with the bracket kit. Place the slider in the door bracket attached to the fridge door. Then, mark the accurate level on the side of the closed door panel.
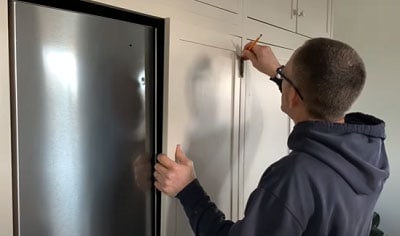
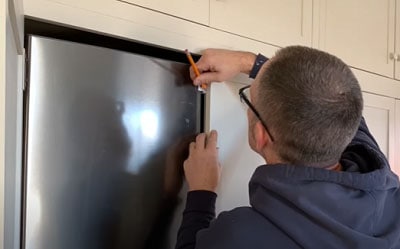
4. Extend the Placement Guide of the Slider
Using a pencil, extend the accurate placement guide to the inner surface of the door panel you are working on. This guide is extremely important for the smooth movement of the brackets when the door panel is opened.
5. Attach the Slider on the Door Panels
For the french door refrigerator to open fully, attach two sliders beside each other in the upper and lower side of the door panel. One door slider has three holes for screws. Attach the first holes of the slider to the door panel.
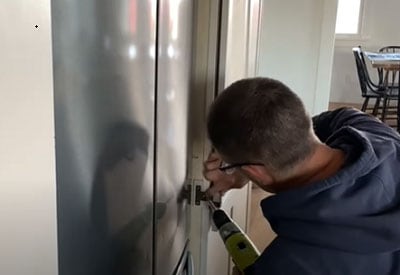
6. Hook the Slider to the Bracket
Hook the slider to the bracket screwed on the fridge door before permanently connecting the rest of the slider’s part to the door panel. Repeat the process to the other door panel.
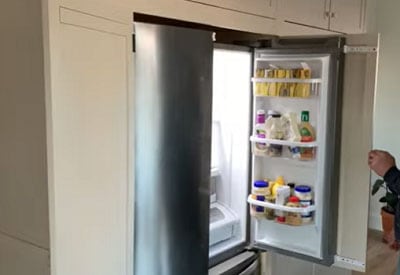
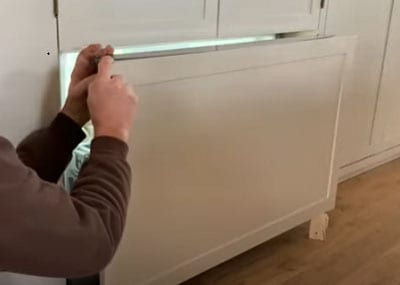
After the complete door panels installation, both fridge and door panels should work as one when you open and close them. The presence of door panels hide the fridge sticking out from the cabinet.
Step 3: Attach Wood Panel in the Freezer Drawer
Materials Added
- Wood blocks
- Drawer Panel
- 2 Knobs
- 7 x 3.6 x 0.9 inches Everbilt 3-in 1 Corner brace
1. Remove Handle
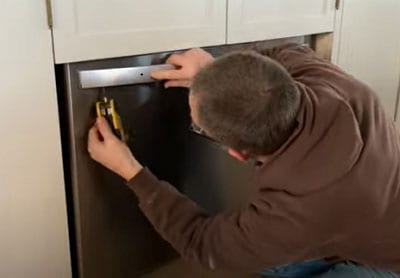
Remove the freezer handle and posts using a screwdriver.
2. Attach the Brace to the Drawer Panel
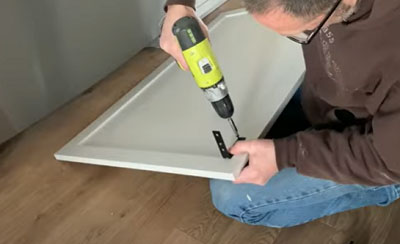
Measure and mark the placement of the braces in the four corners of the drawer panel. Then, attach the braces to their designated place using screws.
3. Connect the Braces to the Freezer Drawer
Connect the other sides of the braces on the four corners of the freezer drawer door using screws. Place blocks of wood at the bottom area to support the drawer panel while you attach the screws.
4. Attach Drawer Panel Handle
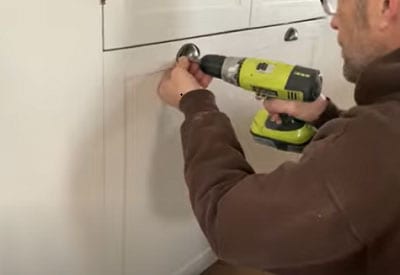
This is the last piece you connect on your customized fridge drawer panel. Attach door handles that match the design of your cabinets to your customized freezer drawer panel.
Now, your standard depth refrigerator sticking out from your cabinet before is transformed to a brand new customized built-in fridge.
5. Recess Fridge Into the Wall
After reading the simple yet great idea above, you are too excited to execute the great plan you have in mind. However, you are hindered by seeing an inch of your refrigerator sticks out past cabinets.
Cheer up; there’s another way to handle this! You can recess the refrigerator into the wall by removing some of the wall layers so that the fridge becomes even with the wall. However, it needs some construction and renovation work to do.
Before pushing through this project, you need to check and confirm the following:
- Walls are free from major electrical wiring and plumbing pipes. A simple renovation could lead to major construction work when they are touched.
- Enough space to accommodate the fridge, fridge side, and rear clearances
- Advice and services of experts for a professional outcome
Method 2: Build a Cabinet Extension

When the refrigerator sticks out too far, there is no greater choice but to build a cabinet extension. The popped-out structure may be less popular, but it works and exempts you from major construction load.
The easiest way to do this is to extend the cabinet to the ceiling and front to accommodate the sticking fridge part. Following this set-up, make the fridge sit flush with cabinets.
Use plywood braced with panels of wood nailed together for strength and firmness. Also, add crown molding on top of the extension to make it look like it is originally part of the cabinetry. Now, finish it with the same paint used in the existing cabinet to come up with a well-blended surface appearance.
1. Panel-Ready Cabinets
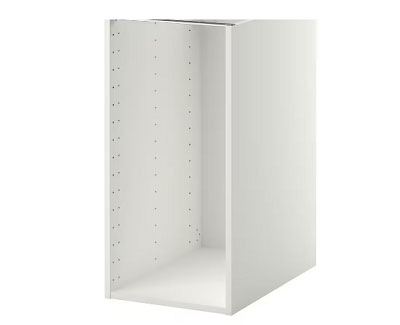
In case you do not want to make your own cabinetry, there are built-in cabinets from Ikea that can accommodate fridges. They have METOD high cabinets, which are exclusively produced for refrigerators and are easy to install.
2. Creative Fridge Surround
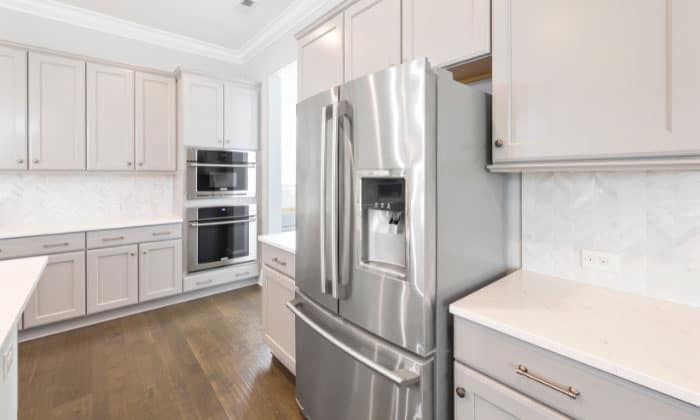
One more trick that does not need any renovation or requires minimal construction work is to use refrigerator cabinet surround ideas fuelled by creativity and energy. It entails moving some major appliances to develop a visually unified kitchen design.
Moving cabinets to fit the refrigerator is one great option, especially when it is adjacent to the wall. The wall and the cabinet serve as solid frames for the fridge. This setup harmoniously integrates the refrigerator into the overall view of the kitchen.
Why Should a Fridge Be Flush With Cabinets?
The answer to this question is the most important thing to know before doing any of the above ways to make the fridge flush with cabinetry. When a fridge is flushed with cabinets,
- it maximizes space,
- displays sophistication and high-end view in the overall kitchen set-up,
- induces clutter-free environment; and
- adds monetary value to the house.
Conclusion
Fridges that sit flush with cabinetry combine the essence of functionality and beauty. Adapting it to your own home brings ten benefits, not only by its elegant look but also with an appraisal value.
Learning some ways on how to make refrigerator flush with cabinets is extremely helpful in planning your next kitchen reno. It might save you a chunk of resources and time.

Hi, I am Roseanne Jones, an aspiring home designer that wants to make you feel more at home with your new house.With nearly five years of redecorating old residents and arranging new ones, I am confident that I can give you the best advice on your lovely place.