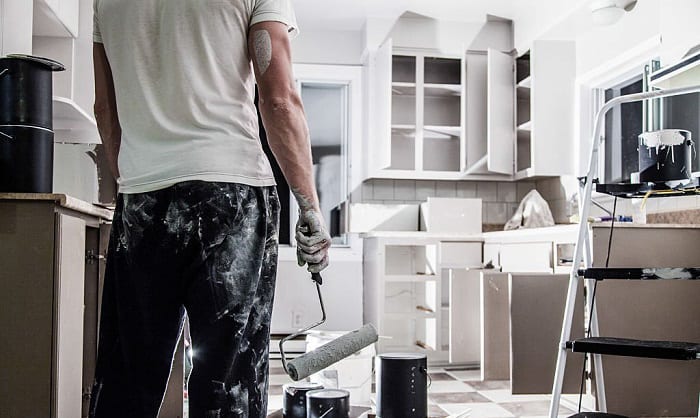
It can be frustrating when no matter how meticulous you are with your brush stroke, the painted cabinets feel rough still. The coarse finish can be quite an eyesore, but not everyone’s willing to spend the extra money to get the job done by professionals.
Then, how to get a smooth finish when painting kitchen cabinets yourself? Check out our top tips here and learn the answer.
Table of Contents
How to Get Smooth Paint Finish on Cabinets
Method 1: With Roller and Brush
What To Prepare
- Gloves
- Safety glasses
- Paint
- Narrow paint brush
- Foam roller
- Mini foam roller
- Wood filler
- Degreaser/trisodium phosphate or borax
- 100-150 grit sander/foam sanding block
- 220-grit sander
- Primer
- Tape
- Vacuum
- A roller tray
Step 1: Disassemble the kitchen cabinet
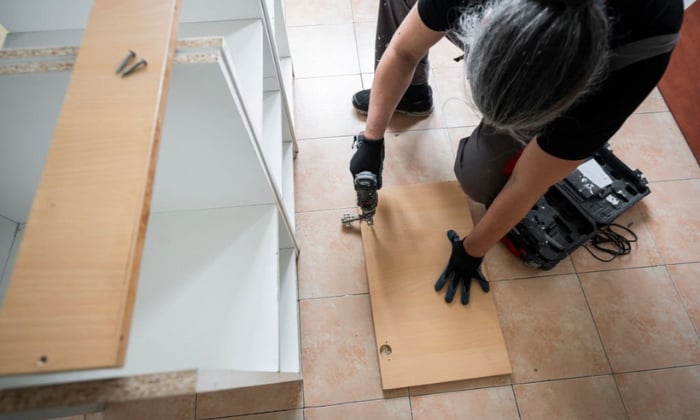
This step may seem like an irrelevant hassle, but it’s actually crucial to get a smooth paint finish on wood cabinets. Aside from ensuring you’ll leave no part uncovered, it also allows you to prop the painted surface upward to prevent unsightly drips.
- Unload everything from the cabinet.
- Take various photos of the cabinet from different angles for later assembly. Alternatively, mark each part to know where they need to go.
- Unscrew the hinges off the cabinet until you can safely take off the door.
- Remove the shelves. Sometimes, you’ll need to loosen their fasteners with a screwdriver.
- If the cabinets are screwed together, get rid of the bolts.
For base countertops, you’ll need to cut off the water supply to remove the pipes. It’s important that you get the countertop out of the way as well.
Step 2: Get the cabinet spotless
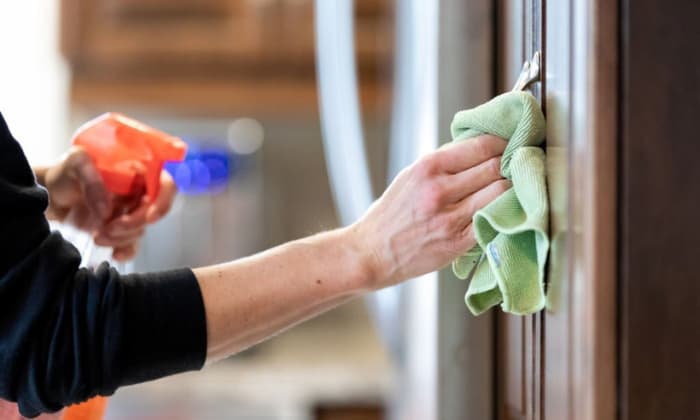
In order to paint kitchen cabinets professionally, you should ensure they’re completely free of grimes and dirt. A clean cabinet means that the paint will have a better chance of sticking to the surface, thus improving your project’s durability.
- Put on safety glasses and gloves.
- Spray a generous amount of degreaser on light stains and let it sit for roughly 20 minutes.
- For more stubborn ones, opt for a mixture of trisodium phosphate and water. Choose a 1:10 or 1:4 ratio, depending on the severity of the grime. However, don’t use this solution on oak, mahogany, glass, or metals.
- Suppose you have these materials on your cabinet, use borax and water in a 1:32
- Scrub the cabinet until there’s no grease or dust left.
- If the degreaser is a rinse-free variety, you can skip this step. With TSP, you always need to wash it off; otherwise, the powder will form on the surface. As for borax, you can just wipe the surface with a clean cloth.
Step 3: Make the surface even
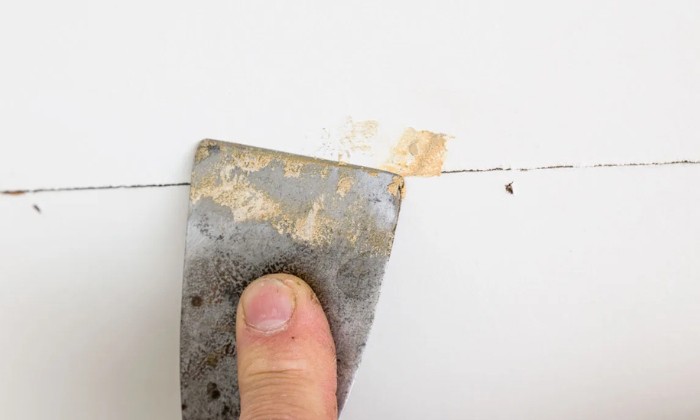
Whether you’re painting wall or painting wood, it’s important to make the surface even. This involves filling existing dents and sanding the surface for perfectly smooth kitchen cabinets.
- Choose a high-quality wood filler and follow its label’s instructions to fix any scratches or chips on the cabinet surface.
- Wait for the filler to cure before lightly sanding the cabinet with 100-150 grit sandpaper (or a foam sanding block). This step will create a rough surface for the primer to stick to.
- Once the cabinet is sufficiently smooth, remove dust particles with a dry brush and vacuum. You might also want to wipe the cabinet again to clean it.
Step 4: Prime the cabinet
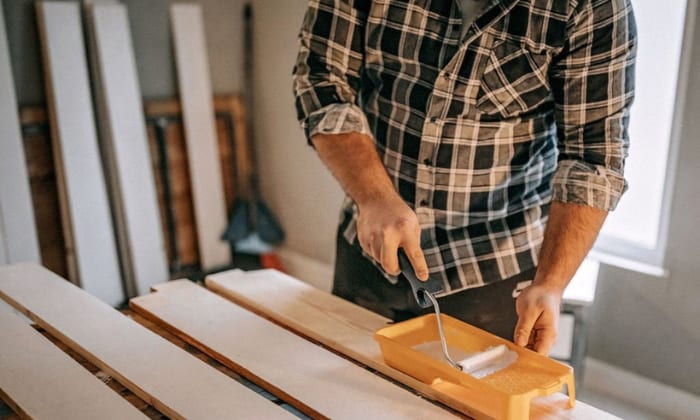
Regardless of what paint techniques for kitchen cabinets you’re utilizing, a primer coating is always essential as it’ll improve how the result looks and its durability.
An oil-based primer is usually the best choice, as it can fit unstained, painted, and weathered wood. Note that a stain-blocking primer (whether oil or latex) should be a better option for stained surfaces.
- Apply the primer onto the cabinet with a foam roller. Your stroke should follow the wood grains.
- For hard-to-reach nooks, use a brush. Otherwise, speed up the process using a roller for smooth finish without brush marks.
- Wait for the primer to cure before painting another coat. Apply 3 layers for the best results.
- Afterward, sand the cabinet again with 220-grit sandpaper. The surface and subsequent paint job might not be as smooth without sanding.
Step 5: Get a smooth paint finish with a roller and brush.
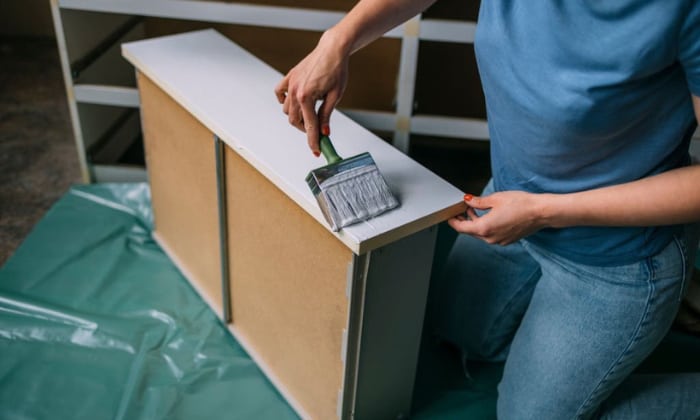
Before we start, note that rollers don’t usually do well with glossy paints, unless you’re fine with them forming a satin finish. Also, brushing should be reserved for wood cupboards only.
- Run the adhesive side of your tape across the new roller cover to eliminate any loose fiber.
- Wet the roller with water, then remove any excess moisture until it’s slightly damp.
- Dip the foam roller into the paint tray, but don’t make it soaking wet.
- Apply the paint onto the cabinet in smooth motions, following the wood grains. If you have to use pressure to get the paint on, it means there’s too little paint.
- For any crevice areas, use a paintbrush. Remember to dip the brush in cold water and give it a couple of spins For oil-based paint, replace cold water with mineral turpentine.
- Run a mini foam roller over the painted surface to get any uneven spot out.
- Sanding between coats of paint on cabinets is necessary.
- Once the paint dries, remove any dust particles.
It’s not unusual for the first layer of paint to look coarse, so don’t sweat it if the coat is not as smooth as you expect. It’ll get more even as it dries, and you’ll still need to sand the surface for another layer of paint.
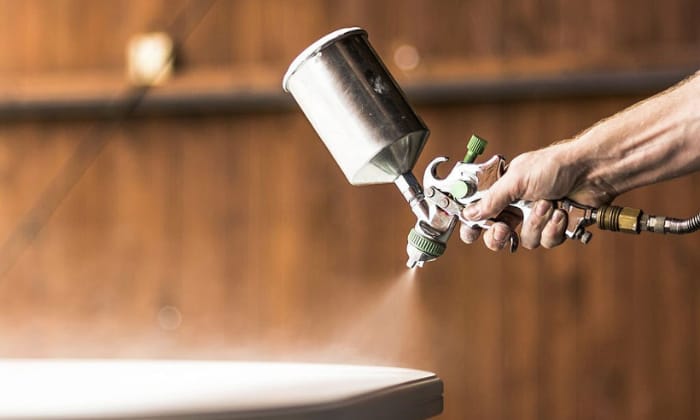
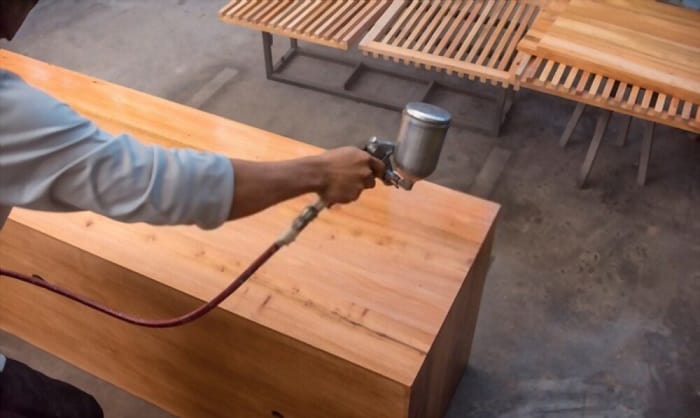
Method 2: With A Paint Sprayer
You’ll still need to prepare and go through the steps above for this method. You’re free to choose whatever paint you want, but my go-to recommendation is always lacquer paint.
Aside from a smooth finish, it’s also relatively resistant to dust build-up and temperature variations – these are excellent features for kitchen cabinets. Note that you must use a lacquer primer in this case.
Moreover, instead of roller and brush, you’ll be using a paint sprayer—the best bet if you want to get a factory finish on cabinets.
Typically, a high-volume low-pressure sprayer will suffice for home use.
- Get your cabinet to a well-ventilated area to reduce exposure to VOCs.
- If this is your first time using a paint sprayer, practice a few times until you get the hang of it. Also, test to see if the pressure is ideal for applying thin paint coats.
- Hold the sprayer 12 inches from the cabinet, and apply the paint in one straight line. Do not stop mid-way, and keep the distance consistent as you spray.
- Use sandpaper for cabinets between coats to keep the paint finish smooth.
- Brush away any debris before the next application.
- 2 layers of paint are usually enough, unless you’re painting a light color over darker ones. In this case, 3 coats are necessary.
Helpful Tips/FAQs
Are you supposed to wet a paintbrush before painting?
Yes, you always need to wet a new paintbrush before painting. Depending on the paint you’re using, you’ll need to dip the brush in cold water or mineral turpentine.
Note that the paintbrush is only supposed to be slightly damp. Otherwise, you may water down your paint.
Should you sand between each paint coat?
Sanding between coats of paint on cabinets is always preferred, especially when you’re working with lower-priced paint. Plus, kitchen cabinets don’t offer the best conditions for the paint to stick, so this extra step is necessary to enhance durability.
Sanding will also yield a more appealing result, particularly for high-gloss paint. This is why professionally paint cabinets will always require sanding between coats.
Is it better to roll or brush paint cabinets?
If you prefer a rustic look on a wood cabinet, a brush will be up your alley. However, the process would take a lot of time, and an inexperienced hand can leave behind unsightly brush strokes.
On the other hand, a roller makes the job a lot quicker, but it’ll have trouble getting paint in small corners. So I’d suggest using a combination of both.
How do I prevent brush marks when painting cabinets?
If you’re painting your cabinet with a brush, you’ll need to run a clean and dry roller across the cabinet to get rid of the brush strokes. This is why it’s often better to use a roller in the first place.
Alternatively, you can utilize a latex extender to help the paint level out better. It’ll also slow down the paint-drying process, giving you more time to adjust the coating.
How do you paint cabinets to look like factory finish?
You’ll need to utilize a paint sprayer to get a factory finish on cabinets. However, if that is not possible, rely on these tips:
- Clean the cabinets thoroughly.
- Fill in cracks and holes, then sand away any imperfections.
- Apply a primer coating, and then sand it too.
- Overlap previous paint strokes.
What is the best finish when painting kitchen cabinets?
Semi-gloss and gloss are the best two finishes for kitchen cabinets. Go for the former if you want a durable and easy-to-clean choice, and pick the latter if bold colors are your cup of tea.
Conclusion
How to get a smooth finish when painting kitchen cabinets? As it turns out, the secret behind factory-like paint coats is thorough preparation. Without sanding and careful cleaning, getting an even color layer will be nearly impossible.
Of course, your paint techniques for kitchen cabinets matter too. So if you’re not confident, practice your skills first.
I wish you the best of luck with your paint project. Reach out to me if you have any questions.

Hi, I am Roseanne Jones, an aspiring home designer that wants to make you feel more at home with your new house.With nearly five years of redecorating old residents and arranging new ones, I am confident that I can give you the best advice on your lovely place.